This detailed tutorial explains how to install Ubuntu 11.10 (Oneiric Ocelot) 11.04, 10.10 or older operating systems on your computer/laptop alongside Windows 7 or XP without losing data.
Ubuntu is a cool and widely used Linux operating system. Its is very good for new Linux users because its very easy to use and its installation and other software installation in it is very user-friendly. The best thing is that you can use it freely and also obtain, distribute and modify it freely as its a open-source software. If you want to explore Linux and have no idea about it, its undoubtedly the best choice. This guide will explain how to install Ubuntu alongside Windows on your computer. Just follow the instructions and screenshots and it wont take more than 30 minutes to install it on your system. Once you use it, I guarantee, you will fall in love with it.
If you don’t know what Linux is and why is it better than Windows, consider looking at this post for your answers. Also have a look at Ubuntu 11.10’s cool features and review here.
Unlike Windows, Ubuntu’s new version is released every 6 months so that you can have state of art software always with you. The version number of the software depends on the year it is released along with the month it is released. The latest release at the time of writing this post is on October 2011, hence the name is Ubuntu 11.10.
Okay enough of explanations, now straight to work.
To install Ubuntu on your computer or laptop, you need three things.
-
Ubuntu installation image.
-
PenDriveLinux software.
-
A USB Flash drive/Pendrive or a CD.
Step One : Download the Ubuntu Disk Image
Go to Ubuntu download page and download the CD image (.iso) file from there. If you are an Indian user, you can download it from Indian mirror for better speed. The name of the file will be something like ubuntu-11.10-desktop-i386.iso. Also if you have more than 2 GB of RAM, you can also obtain the 64 bit versions from there. If you already have a Ubuntu CD along with you, you can skip to step 4.
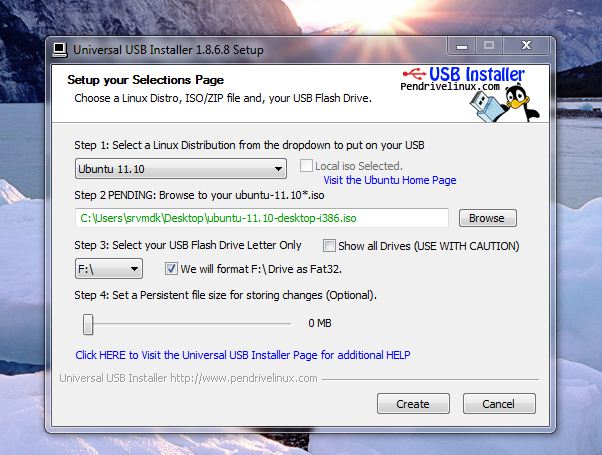
Step Two : Download PenDriveLinux Software
Once you have the image, go to PenDriveLinux and download the software. Its a just 1 MB software that helps you to install Linux from your pen drive. Unlike Windows, you can also use your USB/flash drive to install Linux. Or if you don’t have a USB port, and would like to install Linux from CD/DVD, just write the .iso file to a CD using Nero.
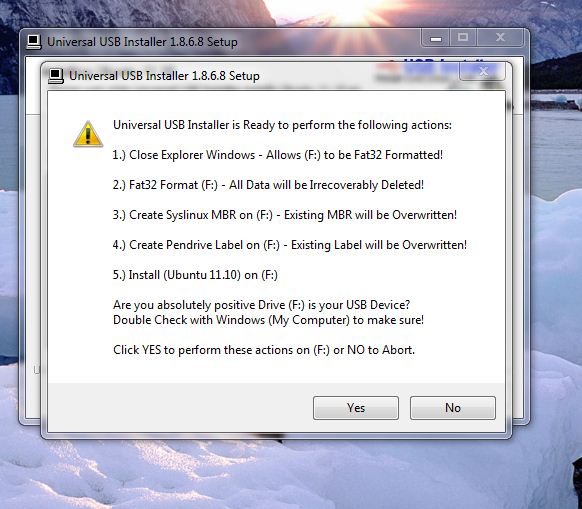
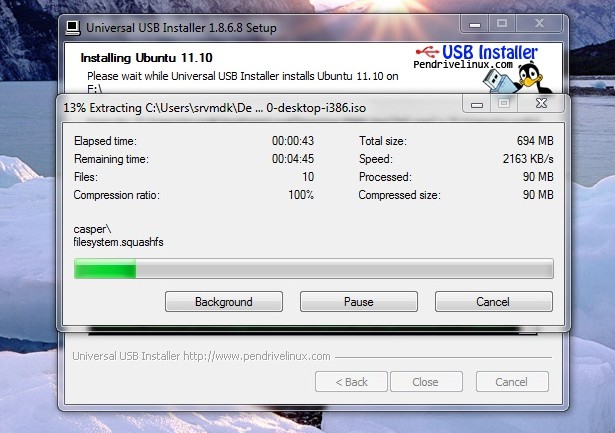
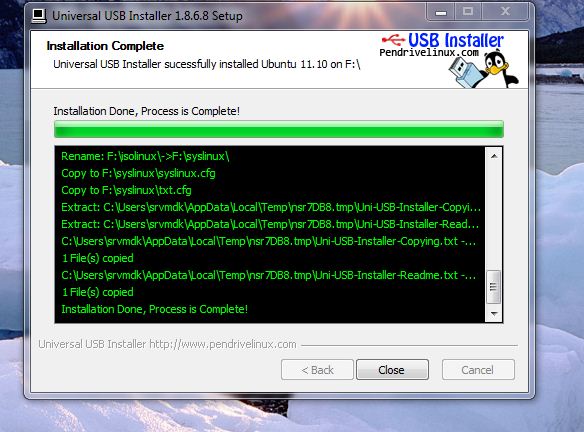
Step Three : Extract the bootable image on your pendrive.
Open the PenDriveLinux software that you just downloaded and accept the license agreement. In the select Linux distributions, select Ubuntu 11.10 or the version/OS you would like to install.


Step 4: Tweaking the BIOS to boot from Removable Device/Pendrive
Insert the pendrive or the CD in your drive and restart your PC. If your BIOS setting permits external booting, you will find Ubuntu booting on your PC (a glowing brownish screen). If it doesn’t you need to tweak your BIOS. Restart you PC again and while it is booting, press the Del key (or the corresponding key as mentioned in your motherboard manual). A blue or black screen will appear. Using arrow keys, go to the boot options menu. From there, select the first boot priority to removable device or CD drive. The picture below will help you.

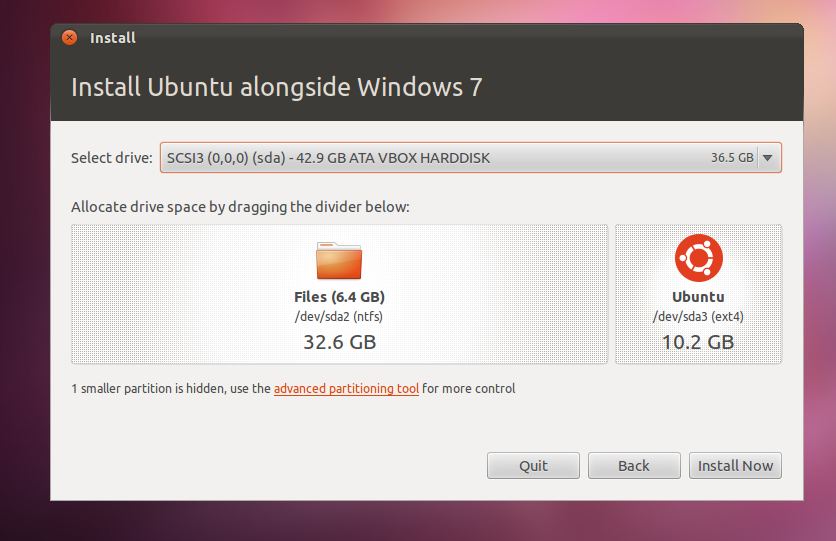
Step 5: Booting Up and Installing Ubuntu
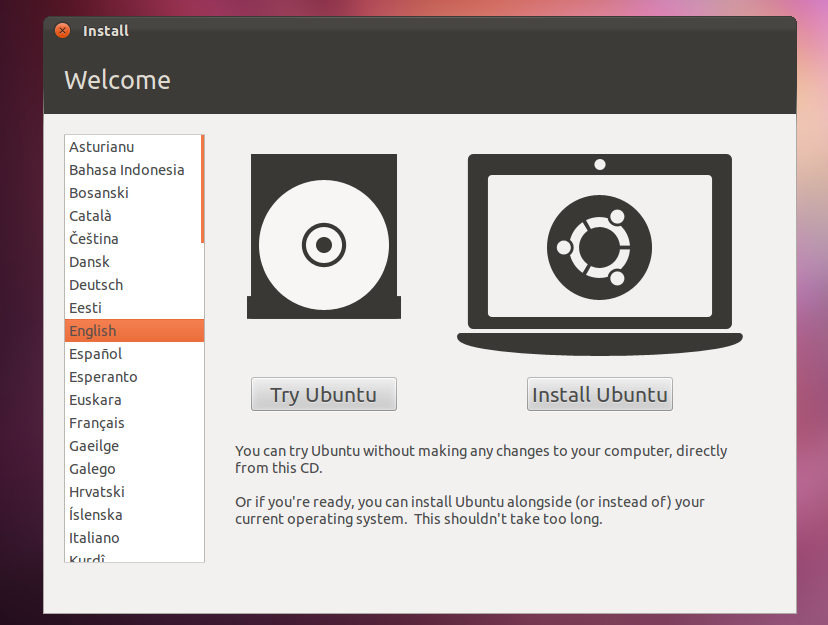
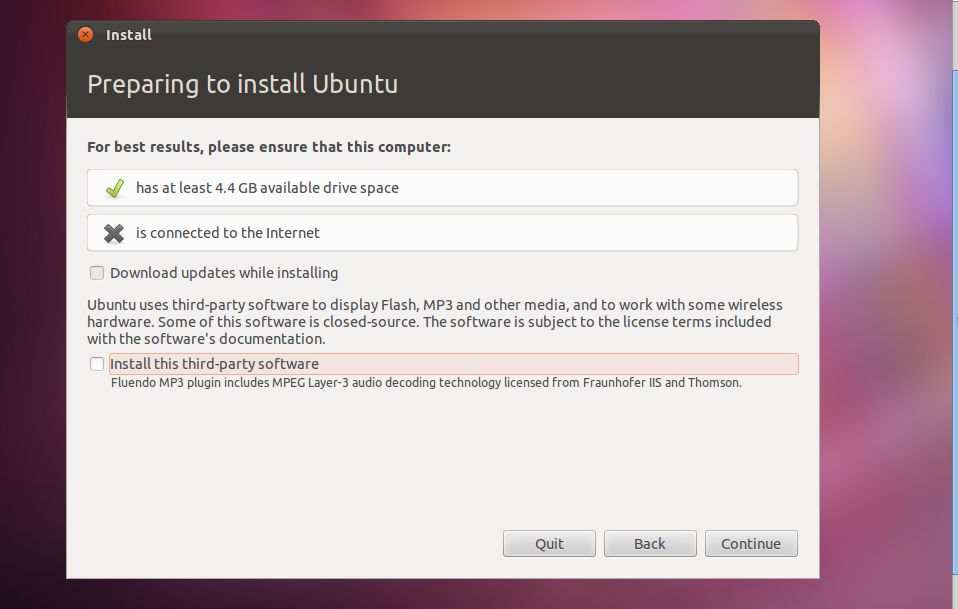
You can try Ubuntu to give a test-drive without making changes in your hard-disk. However, for this tutorial purpose, we will show you how to install Ubuntu. Click on install Ubuntu, and the setup will check if your PC has enough requirements for its installation. You will need at least 4.4 GB disk-space for a successful installation.


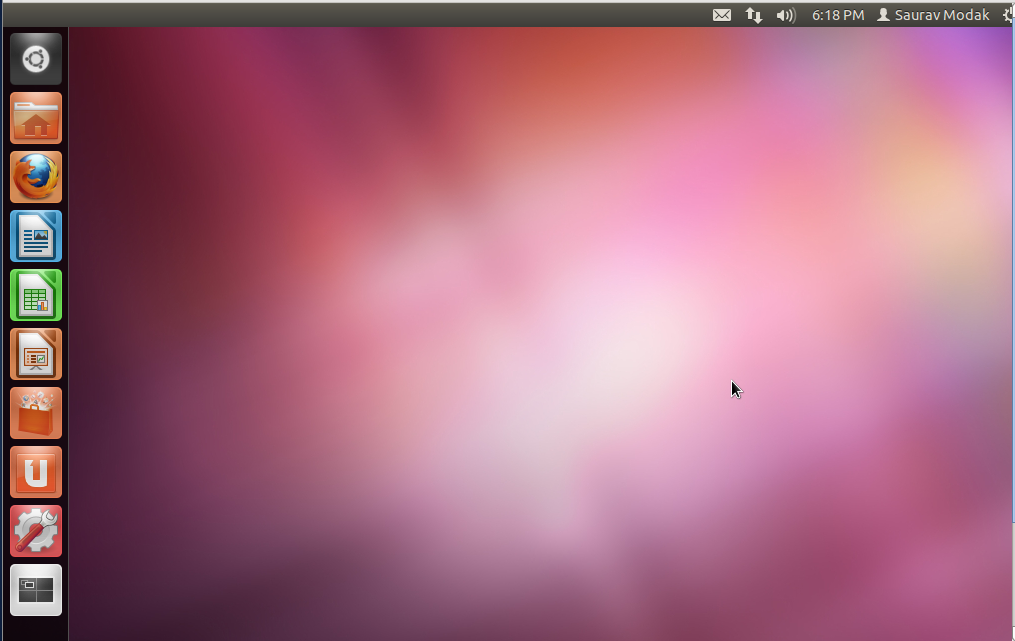
Explore a little of your new OS. Be sure to check out next tutorial on first steps after Ubuntu installation. Play, enjoy, its fully yours.
When done, go to top-most right corner of your screen and click on the ring icon. From here, you can restart or shutdown your computer.


You has make a great blog. I like to stop here. But, dont forget to visit me back, and give us some comment about my blog. Thanks for share
Thanks for commenting. You write great blogs too
Great man , I really need this ! I haven’t try Ubuntu(linux) yet but I love open source so I am going to switch linux from windows! If I face any problems I’ll ask you!
Sure.. feel free to do so
Count me in…i too am switchin 🙂
Great to hear that.. All the best and I am sure you will love it
Great blog buddy… really impressive..
i am also a Linux lover.. currently using UBUNTU 11.10…
but here in post u should also mention WUBI for installing ubuntu inside window.
Glad that you liked it
regarding wubi, I will soon write a separate post on it explaining all its working via a tutorial
So stay tuned and follow this blog, lots coming in 🙂
I’m also a newbie to LINUX and regarding installation, another easy way to install Ubuntu is use alternate ubuntu cd. It is less in size than the desktop cd, it matters if you are in slow internet 😀
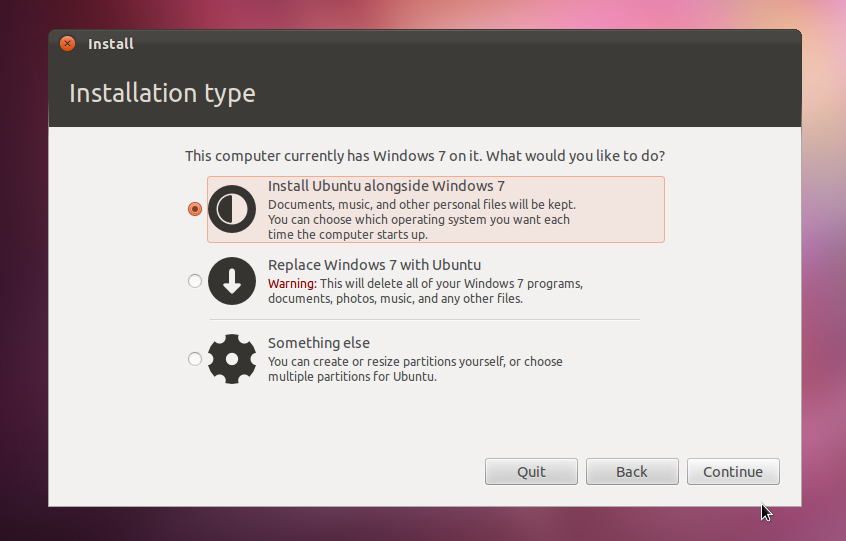
1)Make a partition with the help of windows partition manager, say 20 GB. Make another small partition of 2 gb for swap.
2)Download alternate ubuntu cd 😀 Burn it on cd using window$ , put it on cd drive and reboot.
3)Click on Install Ubuntu
4)Press [Enter]
[Enter] …. Most of time you only have to press [Enter]
and type some keyboard characters to detect the keyboard layout.
5)When the partition window comes, choose the option Manually
6)Choose the unallocated big partition of 20 gb which we have created earlier and choose ‘/’ on it.
7)Choose another 2 gb as swap.
8)Press [Enter] [Enter]
9)Done.
PS: It will take more time to install with alternate cd than desktop, because it compiles the packages and then installs it.
Desktop cd just copy paste the files
But does it matter if we are saving some MBs while downloading the alternate iso file? 😀
I started using Ubuntu 12.04 from 8 May,2012 and I fell in love with it in the short span of time.
Thanks for sharing your knowledge with us, if u have something else also to share maybe you can write a guest post for us.
Regarding the distro have you tried anything new? I used Fedora and open suse and they are really great. Open Suse has got the most professional looks I have ever seen. Do give them a try when you are free.
Also Arch Linux is great but its not for newcomers.
@jayant
thanks man. i was unable to install my ubuntu along win7 from the cd. you made it possible
What error did u get?
Thanks, I will sure try to write guest post 😉
I researched and found out that Ubuntu have more support,wiki than Fedora and OpenSUSE(may be I’m wrong). That’s why I installed Ubuntu.
Before that I tried Puppy Linux on live cd. Puppy Linux was my first distro, I preferred it at that time because of its size, only 130 MB.
Then I downloaded Ubuntu 12.04 LTS and using it now and also installed FreeBSD on VirtualBox and Arch Linux again on VBox following the instructions of your article. 😀
I’m a newbie so I will stick to Ubuntu for a while as my main OS and get familiar with Arch Linux on VBox. 🙂
Yes ubuntu is always good for newcomers. Also Linux Mint it comes with drivers and codecs installed, so u dont need to install codecs flash etc manually after installation.
Check out DamnSmall Linux, if you are in search of some light distro. It weights just 50 mB download